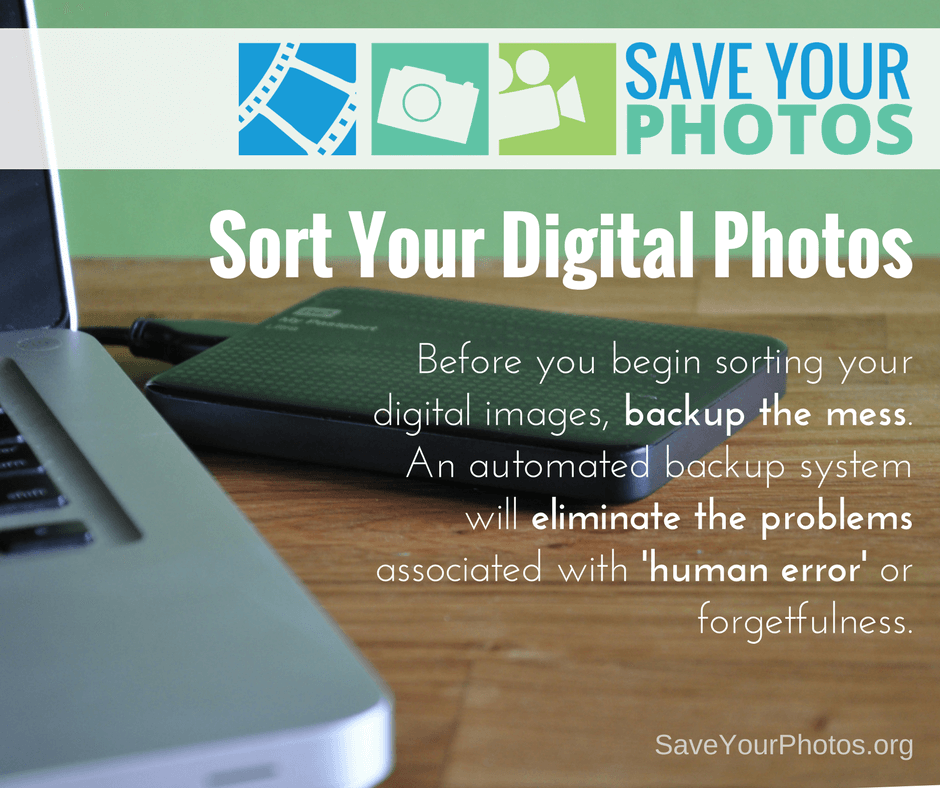
Once you “backup the mess,” the time has come to sort your digital photos.
Start With A Backup
One more step before you start collecting your images. Let’s get a backup in place. We’ll elaborate on a healthy, long-term backup strategy in a few days. For now, you want to have an external hard drive setup to backup your mess.
Yes, that right. Let’s backup the chaos!
We recommend an automatic backup to your external drive, and you want this in place before you start moving digital photos.
Now you can proceed by collecting images from all the devices and locations you indicated during your ‘hunt and gather’ inventory stage. You may find it helpful to work in stages, one device at a time. Check each device off your list so you don’t forget anything.
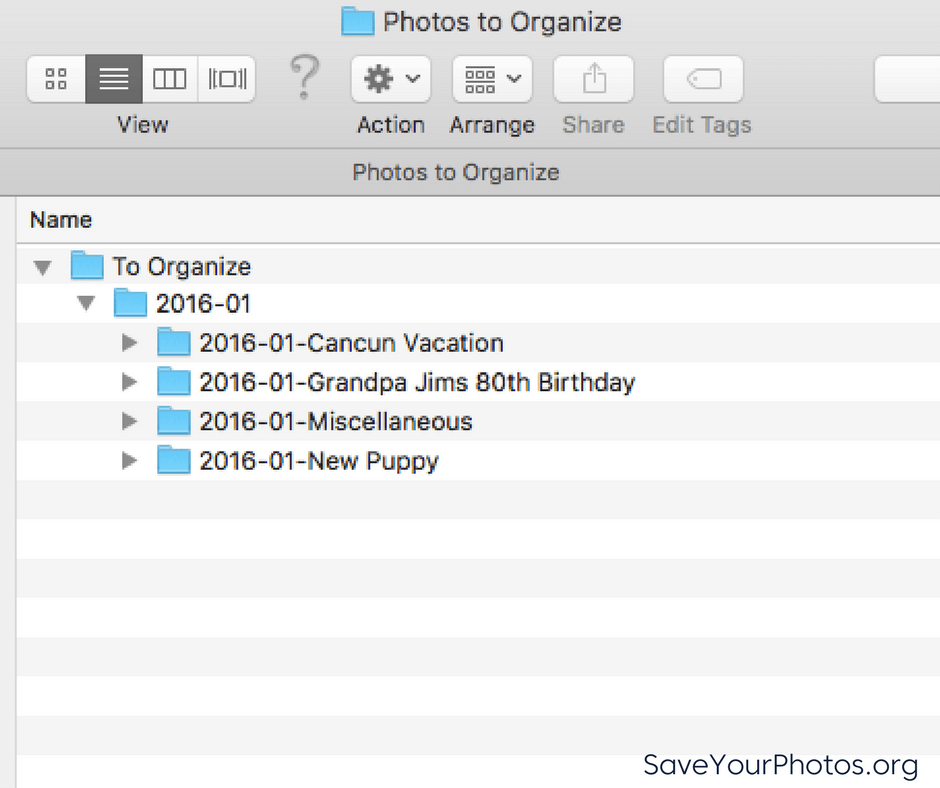
The ‘To Organize’ Folder
As you bring each set of digital photos into your ‘to organize’ folder, keep events or months together. For example, don’t just dump 1,475 images from your camera roll into your folder. Use your smartphone’s built-in app to identify groupings like months, events or collections.
Once you have a group of photos in your ‘to organize’ folder, you want to give the images a quick review and remove all photos that don’t need to be in your collection. Pictures of a receipt for business and the lunch photo you posted on Instagram are examples of the clutter you want to get rid of right away. Get rid of anything that you know for sure, isn’t a ‘keeper.’
Before you organize your digital photos, backup the mess! #saveyourphotos Click To Tweet
Next, create a folder and give the folder a name that represents the group of photos that will go into it. Your folder name should begin with a numeric sequence that represents the year first, followed by the month. An example might be 2016-01 for January 2016. Inside that folder; you can create themed or event folders to break it down further if you want, depending on your volume of photos. The name of that folder should begin with a numeric sequence that represents the year followed by the month, followed by the event or theme.
Here is an example of what this looks like.
Renaming Digital Photos
You can take this one step further by renaming each photo inside the folders. You can work in batches without the use of any additional software, and you’ll want to include ‘who, what, where’ in your filename. When you batch rename photos in your folder, your system assigns a numerical appendage to your image filename. Ultimately, each image ends up with a unique filename.
Here is an example of the filenames for one of the folders listed above.
2016-01-Grandpa Jim’s 80th Birthday
>2016-01-25-Birthday-Jim Smith-Florida_001.jpg
>2016-01-25-Birthday-Jim Smith-Florida_002.jpg
>2016-01-25-Birthday-Jim Smith-Florida_003.jpg
>2016-01-25-Birthday-Jim Smith-Florida_004.jpg
>2016-01-25-Birthday-Jim Smith-Florida_005.jpg
Once you completed this step, it’s time to move your newly organized folder out of the ‘to organize’ folder and into its rightful place in the main folder structure of your central hub.
If you have to take a break, return to your ‘to organize’ photos and continue working. With this system, you can quickly identify where you have left off.
Repeat until all of your photos are in your hub. Next week we’ll discuss quick ways to eliminate duplicates.
Sign up today for more great photo organizing tips directly in your email box.
We also invite you to visit our sister blog The Photo Organizers for more tips and in-depth knowledge from some of the top photo organizing industry professionals. To find a photo organizer near you, visit the Association of Personal Photo Organizers.